Want a yard that looks designed? Use this simple guide to plan your garden, including perennials, shrubs, and pollinators.
If you want a yard that looks “put together” (not random), planning is the cheat code. The goal isn’t more plants—it’s better placement and a simple structure you can repeat. Start by identifying your high-visibility zones: the front walkway, the area around the porch, the driveway edge, and the sections you see from the street. These spots deserve your best effort because they deliver the biggest curb appeal return.
Quick Planning Checklist
Before you buy anything, do this:
Pick your look (and keep it consistent)
Choose one main style so your yard doesn’t feel like a mash-up:
- Tidy + modern: fewer plant types, clean edges, repeat the same shapes
- Cottage-style: fuller beds, mixed blooms, softer borders (still planned—just not rigid)
- Native/pollinator-friendly: layered plants with staggered bloom times and minimal fuss once established
Tip: pick 2–3 “anchor colours” (for blooms or foliage) so everything ties together.
Map sun + moisture (the Southern Ontario reality check)
Walk the yard morning and late afternoon and make quick notes:
- Full sun (6+ hours), part sun/shade (3–6), shade (under 3)
- Spots that stay wet after rain (low areas, downspout splash zones, clay-heavy sections)
Extra value move: notice snowmelt patterns and spring puddles—spring wetness can stunt plants even if the area is “sunny.”
Choose your “feature view” (design from the street in)
Stand on the sidewalk, then at your front step, and decide what the eye should land on first:
- A statement shrub or small ornamental tree
- A pair of planters at the entry
- A curved bed line along the walk
Rule: one strong focal point beats five competing ones. If everything screams, nothing stands out.
Measure bed depth (this is what stops the “random” look)
Shallow beds force single-file planting and look sparse. Aim for depth that supports layers:
- Minimum: ~3 ft (works for a simple border)
- Better: ~4–6 ft (lets you layer shrubs + perennials + edging plants)
Tip: if you can’t expand the bed, use taller plants in tighter clusters and repeat them to create depth visually.
Sketch your layers before shopping (5 minutes, huge payoff)
Decide what goes where using a simple structure:
- Back layer = height/structure
- Middle = fullness/colour
- Front edge = clean line
Then choose 2–3 “repeat” plants for the middle layer so it looks designed, not collected.
Plan for maintenance like a real person
Leave enough space between plants for airflow and weeding, and avoid planting right up against the lawn edge if you hate trimming.
Easy win: build in stepping access or a reachable gap so you’re not stepping into beds all summer.
Build Your Garden in Layers
Use this simple structure to make everything feel intentional:
- Back layer: shrubs or tall perennials for height, privacy, and shape
- Middle layer: medium perennials for fullness and repeating colour
- Front edge: low perennials or ground cover for a crisp border
Design Trick That Makes It Look Pro
Repetition is what makes a garden look intentional from the street. The biggest mistake homeowners make is planting one of everything—it creates visual noise, so nothing reads as a “design.”
Use repetition in clusters (not singles)
- Pick 2–3 main plants for each bed and repeat them.
- Plant them in clusters of 3, 5, or 7 (odd numbers look more natural).
- Repeat those clusters along the bed so the eye sees a pattern instead of random dots.
Design with foliage first (because it lasts longer than blooms)
Flower colour is the fun part, but it’s temporary. Foliage is what keeps the bed looking good for months. Aim for contrast in leaf texture and shape, not just bloom colour:
- Bold foliage (big leaves) reads clean and “designed” from far away
- Fine foliage (grassy/feathery leaves) softens edges and fills gaps
- Upright forms add structure and height
- Mounding forms make beds look full and finished
The “Three Contrast” rule (easy, reliable, non-technical)
In each bed, include at least:
- One upright plant shape (vertical)
- One mounded shape (rounded/full)
- One low/spreading edge (ground-hugging)
That’s enough variety to look professional without turning messy.
Keep a tight plant palette
If you want it to look cohesive, limit how many different plants you use in one bed:
- Small bed: 5–7 plant types max
- Medium bed: 7–10 plant types max
You can still have lots of colour—just get it by repeating the same plants in multiple spots.
Bonus curb-appeal move
Repeat one “signature” plant in both your garden beds and your planters. When the same plant shows up in more than one place, the whole yard instantly looks coordinated—even if you’re still filling things in.
Keep Going with Your Spring Planting Momentum
Spring planting in Southern Ontario isn’t just about what you plant—it’s about timing, consistency, and simple habits that keep your yard looking “done” as everything takes off after your first frost-free date. If you followed the steps in this spring planting guide, you’ve already handled the hard part: you’ve got a plan, you’re planting at the right time, and you’re building a yard that looks intentional.
If you want to keep learning and tightening up your routine as the season moves forward, you can browse DIY advice anytime here: Lawn Care Tips.
And if you’d rather skip the trial-and-error (or you just want the finished look faster), these services line up with the exact tasks covered in this spring planting guide:
- Garden help with planning, planting, and seasonal upkeep: Gardening Services
- Support for lawn health during the spring growth surge: Lawn Treatments
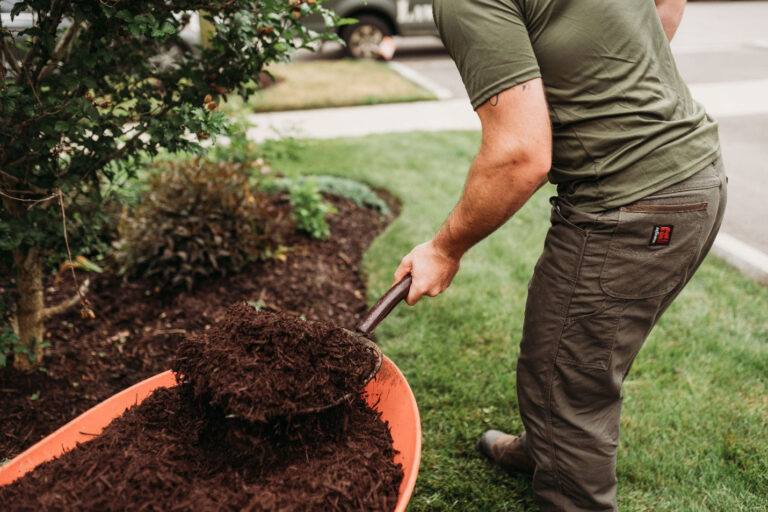
- A clean, finished look for beds plus easier weed control and moisture retention: Mulch Installation
Whether you DIY it all or bring in a hand for the heavy lifting, the main takeaway is the same: work with the frost-free window, build structure first, then fill and add colour, and keep up with clean edges and consistent maintenance.
That’s how you get the best-looking yard on the street—and keep it that way.